|
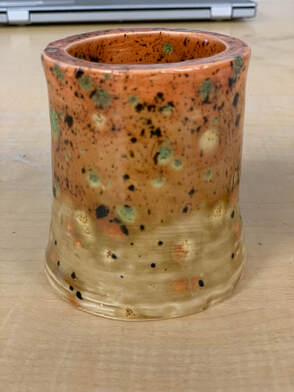
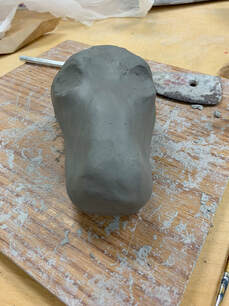
1. In creating artwork I have used tools such as wooden ribs and clay exactos. The wooden rib was very helpful in smoothing out pieces and rounding edges, and clay exactos were fantastic for cutting the clay very precisely. 2. My knowledge and understanding of has changed since the beginning of the semester because at the beginning of the semester... I had no idea what any of the tools were called and I kinda just picked whichever one looked right. Now, I know what each tool is called and how they should be used, which results in much better outcomes in my pieces. 3. What was your favorite material that you used this year? Why do you like working with it? My favorite material that I used this year was clay. While clay has its cons (dries out, messy), I found that It was much easier to work with, and easier to mold/ fix if I messed up, unlike paper mache. 4. Which project was your most successful? Describe the theme and or topic or process you went through to complete this project. I think my first project was my most successful. The first project I did this semester was a clay tripod mug. To make my tripod mug, I got a slab of clay, folded it into a cylinder, then pinched the bottom to create three legs. Once the shape of the tripod mug was complete, I could add my pattern and carve the mug. The last two steps of the mug were to add the handle, and glaze. Glazing was probably the hardest part, because I had to get the yellow on without getting in into the sections I had carved out (which were meant to be blue). 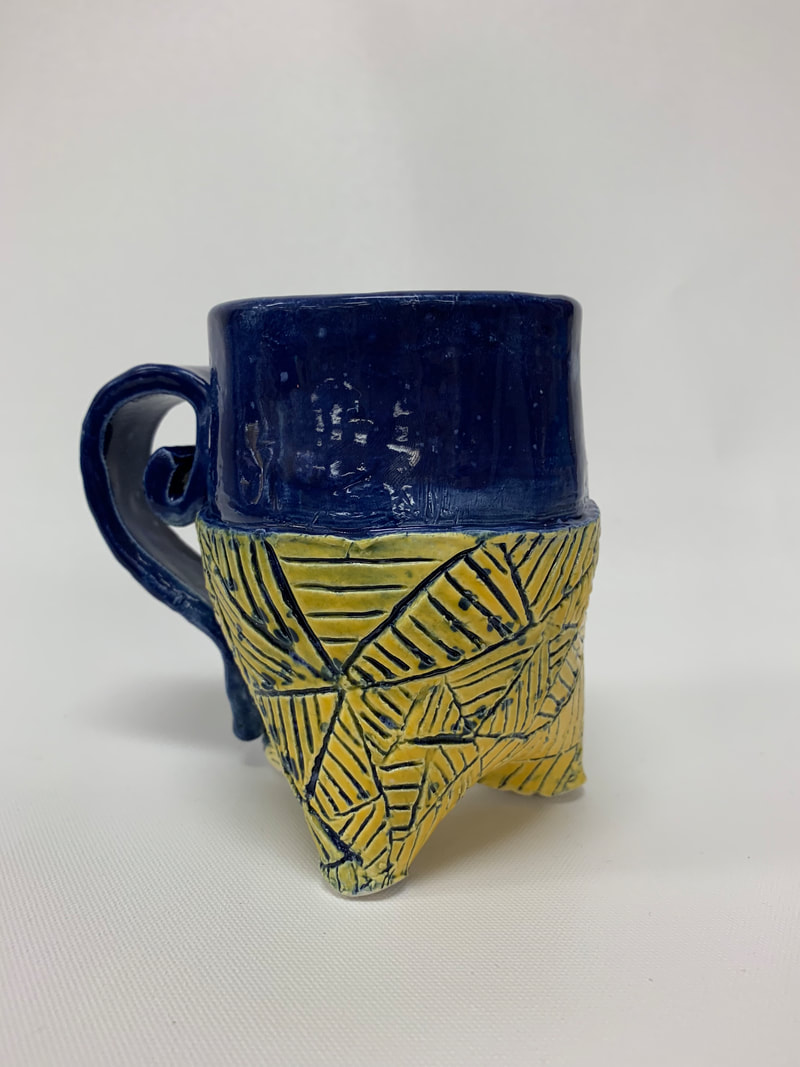 5. Which project was least successful? Explain why you consider this work of art unsuccessful? If you were to create this piece over again, what changes would you make? My figurative piece was my least successful. I wish I would have completed the ears earlier so I could have attached them before firing. I also really didn't like the end result of the ear shape. If I could do it again I would absolutely attach the ears earlier so that they would have fit better. 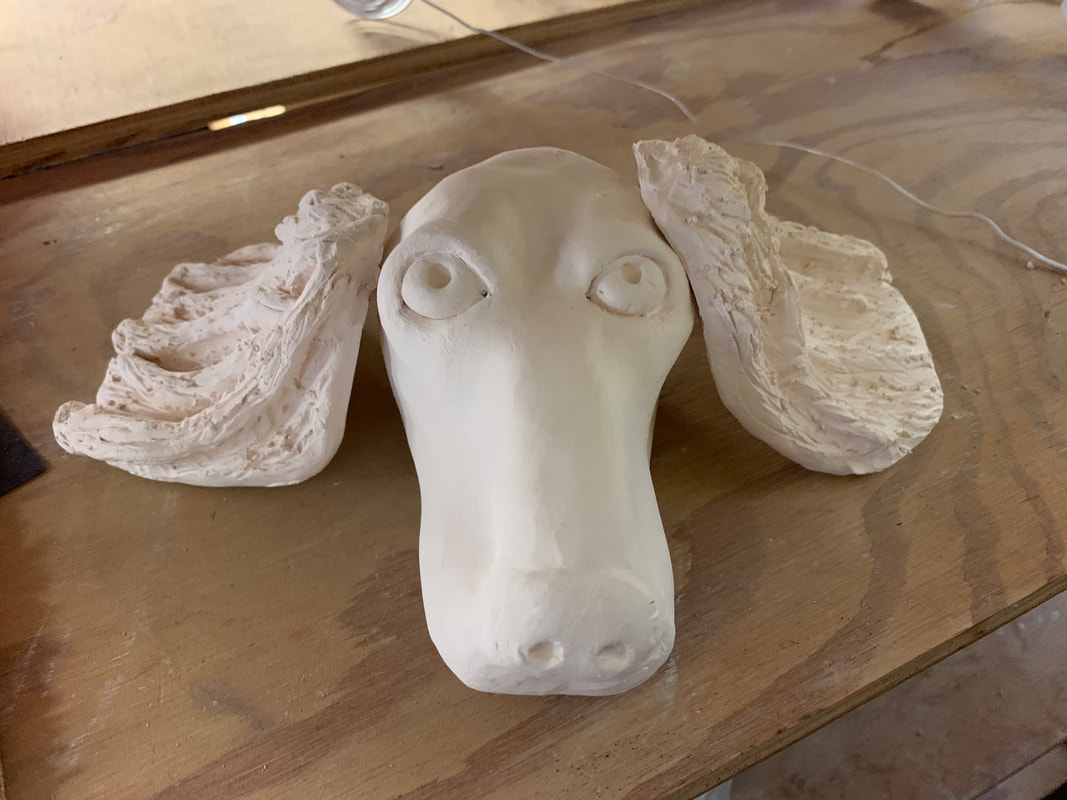
0 Comments
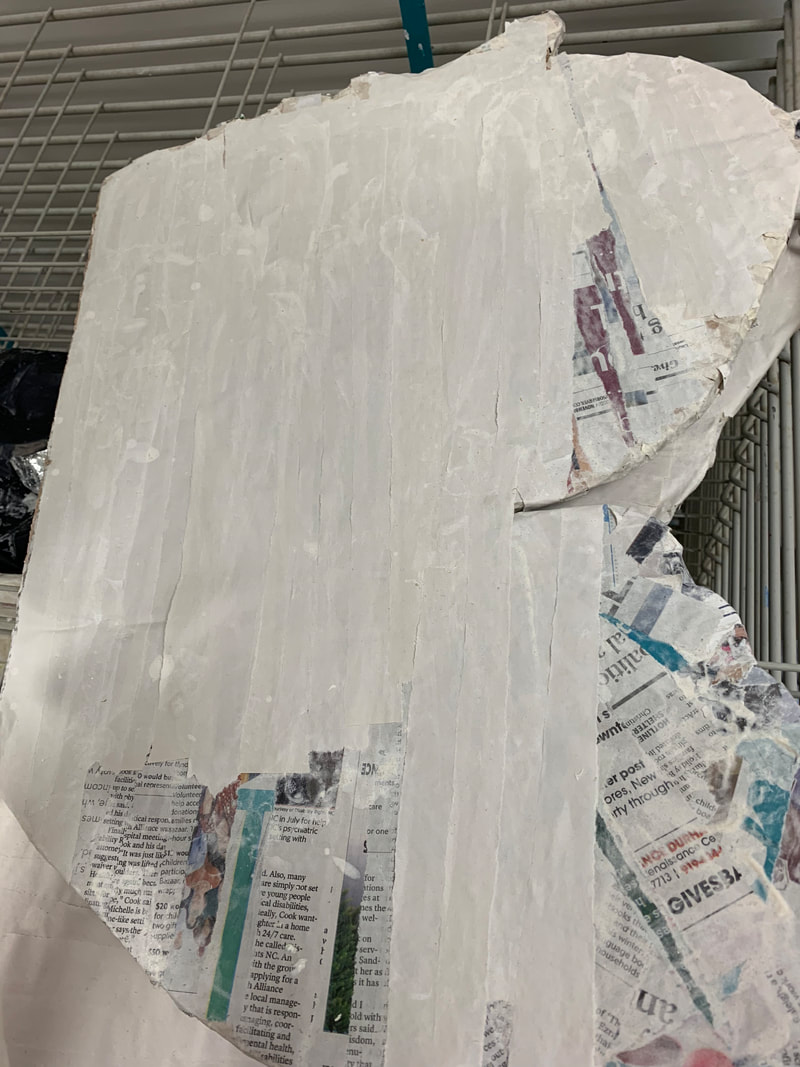
The result of the paper mache butterfly was that our group didn't get farther than what was included in the in progress butterfly, and I was exempt due to the rest of the group not putting forth effort.
Insufficient time to complete due to uh... complications with figurative and sgraffito pieces. :(
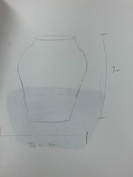
So, unfortunately, my piece broke in half before I could get much of anywhere with it and there was not enough time left in the semester to redo it :( these are the questions I can answer: 1. I got my idea from a picture one of my close friends took. 2. The process before it broke was putting a slab of clay on a plate and trimming around it until it fit the plate, then painting underglaze on. 3. It was unsuccessful because it literally broke in half 
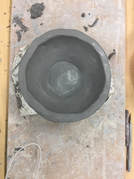
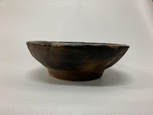
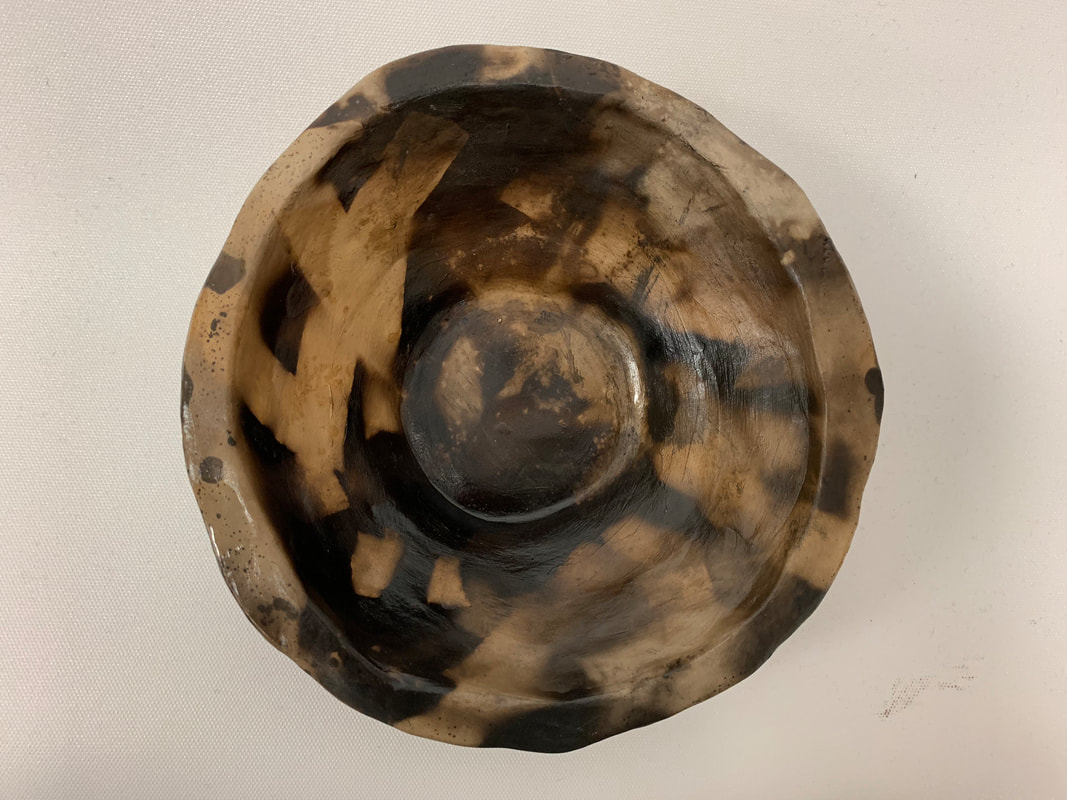
 1. The process of pit fired ceramics includes first creating your piece by (in my case) coiling. Once your piece has it's shaped you can varnish it and bisque fire it. After it's fired it can be wrapped with certain materials to create certain colors and be wrapped in aluminum foil (saggar). When the piece is finished being wrapped it can be pit fired! 2. I think the color that came out on the piece was very successful, but if I could do it again I would spend more time making sure the piece was even and smoothing it out. 3. I burned ferric acid, salt, dog hair, paper, leafs and twigs. By taping the leafs and twigs to the piece, I got a really cool design.
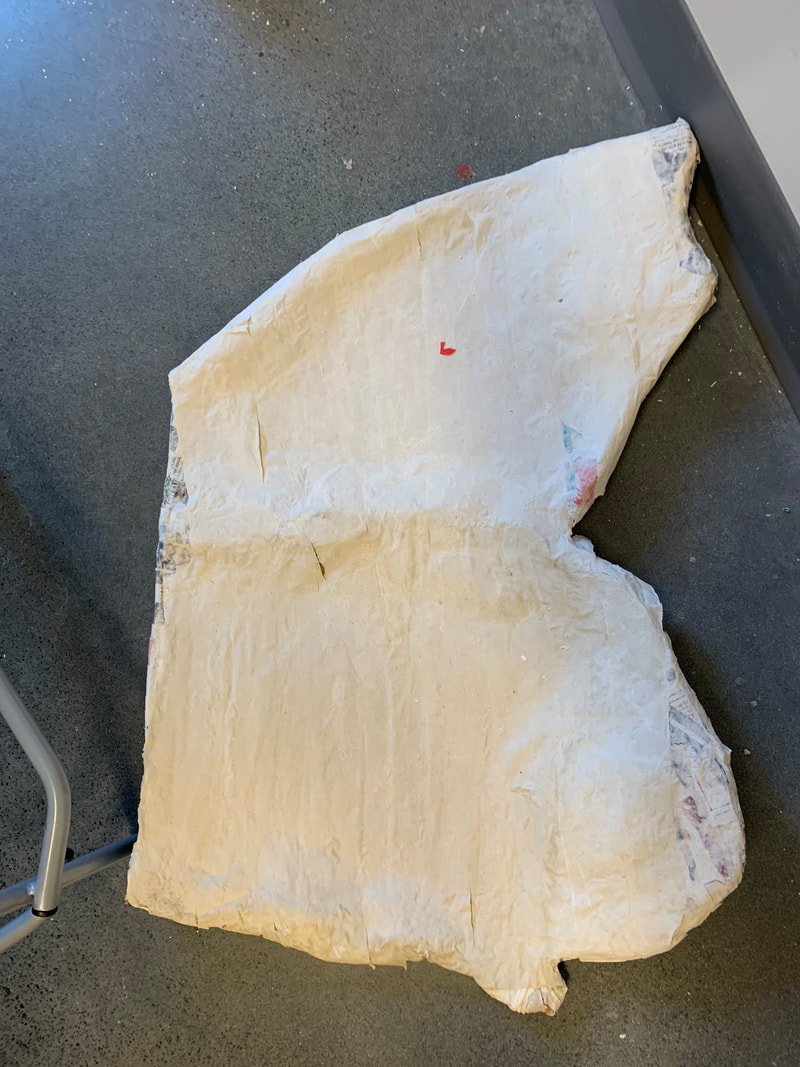
1. I cut out 3 of the 4 wings, came up with and mostly made the body of the butterfly, and so far have paper mached 1 of the butterfly wings. 2. For this project, we first cut out the cardboard and taped or glued materials onto it to create the shape we needed. Then we used a mixture of flour and water to do a few layers of paper mache with newspaper/paper and later on, paper towel. 3. We've had kind of a hard time with the shape of the body for the butterfly, but I think the shape of the wings went very well. Our butterfly has a pretty strange body shape, so it's kind of hard to shape the body accurately.
|